Sensory bins are all the rage at the moment – and for good reason! With so many different tools and textures, they’re a great way to stimulate your toddler and boost their development. The good news doesn’t stop there either – they’re also incredibly easy to make! In just 5 simple steps, we’ll show you how to make a sensory bin so that your toddler can start discovering independent play!
Here is our definitive guide for how to make a sensory bin:
1. Find a container
The first step to making your own sensory bin is finding the best container for the job. This could be any box you have to hand, but we’d recommend a plastic storage container to transform into your sensory bin. This is because they’re super easy to clean, they can hold any base (liquid or solid) and they can store all of your sensory bin essentials when you’re done! Just be sure your container has high sides to help prevent some of the mess and you’ve got yourself a multi-functional sensory bin.

2. Choose your base
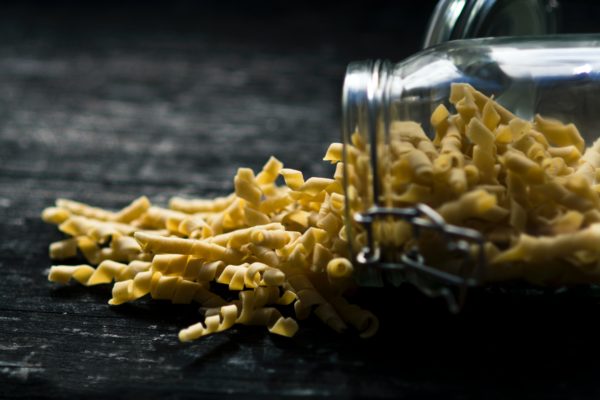
The options are literally endless when it comes to choosing the base for your sensory bin. Whether you raid your cupboards for some dried pasta and rice or you opt for more natural materials like soil and sand – the aim is to keep it interesting. Look for bases that have fun colours and textures to excite your toddler and really engage all of their senses. Then once you’re done, store them in a zip-lock bag ready for next time!
Here is a list of bases we’d recommend:
- Rice
- Dried Pasta
- Seeds
- Water
- Sand
- Soil
- Shredded paper
3. Grab your tools
Don’t worry, this step doesn’t require any DIY – in fact, most of the ‘tools’ you do need, you’ll already own! Household objects like spoons, jars and funnels can be great additions to your toddler’s sensory bin. By adding these tools, you’re allowing your child to experiment with how to use these new objects, and in turn, helping them develop their fine motor skills.

4. Add your smaller objects
To add some excitement to your sensory bin, try including some smaller items like buttons or foam letters into the mix. This way your toddler can uncover even more exciting shapes and textures while exploring the base of their sensory bin.
Another alternative is natural materials like leaves and seashells. By including natural materials you’re allowing your child to partake in heuristic play – a form of play that focuses on interacting with everyday objects rather than toys. This way you’re allowing your child to explore nature, whilst also encouraging their sense of imagination.
Read: What Is Heuristic Play and Why Is It Good for Our Children?
5. Create a theme
Why not take your sensory play to the next level and start creating some themes! This could be anything from a beach theme with sand and seashells to a dinosaur theme with soil and pebbles! Whichever theme you choose, exploring different themes can be a great way to add some variety to your sensory play.

So there you have it – our definitive guide for how to make a sensory bin. With just a few household items and a little creativity, you’re able to provide your toddler with endless hours of fun. Whether you decide to get stuck in or you prefer to watch from the sidelines, you can be confident that you’re boosting your child’s development – and for little to no cost!
At Schoolhouse Daycare, we enjoy learning, encouraging confidence and we love life! If you think your child would enjoy life at Schoolhouse, then please do not hesitate to arrange a visit.

